How to Size Soldered Rings
Written by Annabelle
March 30, 2020

It’s a common practice to solder rings together, such as wedding sets. This prevents the rings from spinning around on your finger, and helps you maintain the look of the set without having to constantly adjust it. But what do you do when the rings need to be sized? Here’s how to size soldered rings.
What You Need to Know About Soldered Rings
Rings that are soldered together are essentially “glued” together by metal at various points on the topside of the ring. Before the procedure, a jeweler will warn you that this can cover up and remove side detailing from the design of your ring.
The process of sizing a soldered ring set is considerably more complicated than sizing one ring. Contrary to what you might think, a jeweler can’t just cut into the back and size down or up by adding or removing metal. This is because the sizing process involves tugging and reshaping the rings back into a round shape, exerting strain on the front design of the ring near the setting and shoulders. If a jeweler attempted to size soldered rings without any additional preparation, the strain in the sizing process may cause damage to all of the rings in the set.
The Soldered Ring Set Sizing Process

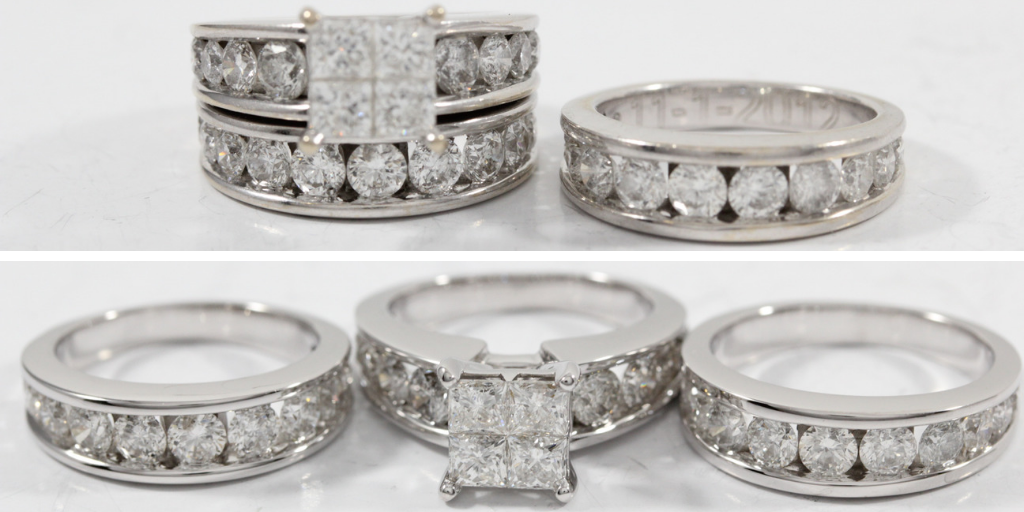
A wedding set before and after unsoldering.
In order to properly size a soldered ring set, the jeweler has to unsolder and remove each ring. This can be done by taking a jeweler’s saw and cutting the rings apart; again, any side detailing that was at the initial area of solder will be removed in the process.
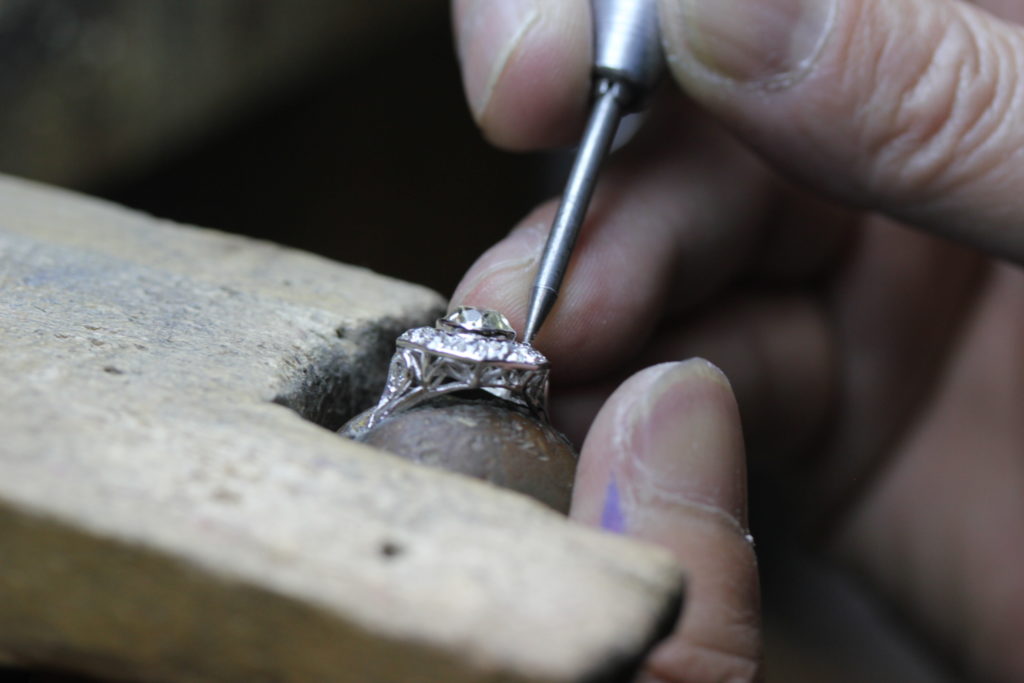
Once the jeweler has separated all of the rings, they can start sizing each one. The ring sizing process is fairly straightforward after the separation; the back of the ring is cut open, the ring is placed on a mandrel and adjusted to the right size, and then metal is removed or added. Once the sizing is complete, the jeweler solders the ring shut, and sends it off to polishing to remove any rough bits and scratches from the sizing process.
With soldered rings, each ring will be polished before the jeweler collects all of them for resoldering. This is to ensure that there are no rough portions in-between each ring, as those areas will not be easy to reach once the rings are reattached to one another.
For soldered rings that are going up a lot of sizes, or have a thinned back, shank replacement is often necessary to strengthen the ring set. This involves removing the thin metal, and replacing it with a thicker back. Again, the rings will have to be cut apart and sized on the mandrel before the jeweler can put in a new shank. Oftentimes this new shank may be a solid piece of metal that will completely replace the two or three individual back portions of the rings.
Cost and Turnaround Time
As the jeweler is essentially sizing two or three rings, don’t expect the sizing to be the same price as one ring even though it may look like one ring on your finger! If one gold ring sizing down is $39, expect it to be double that for sizing a gold soldered ring set down. Turnaround time is also lengthier, as the jeweler has to spend time unsoldering, sizing, and resoldering the rings. While a single ring sizing is usually 1-2 days, expect it to be 2-4 days for a ring set.
Shank replacement is more expensive, as the jeweler is supplying a large piece of precious metal. On average, it will be around $80-$175 depending on the material of your ring set.
Now you’re all set on how to size soldered rings! If you have a set you want to get started on, comment below and we’ll help you out.


