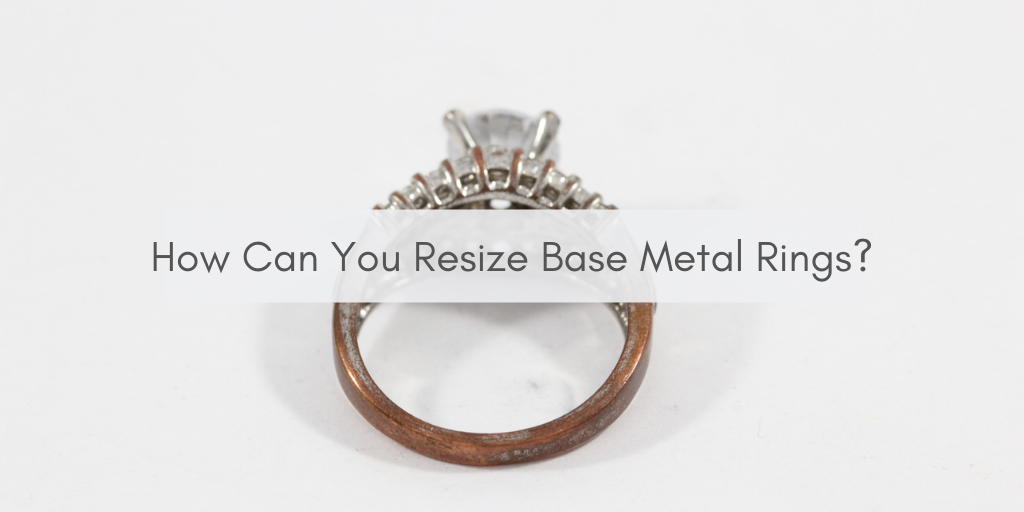
Customer Spotlight: Building a Custom Ring Using Different Jewelry Components
Written by Annabelle
September 27, 2019

So let's say you have an idea about jewelry. You want to create a custom ring, but you're not too sure where to start, and you have very specific requirements about what you need.
That's exactly what one of our clients struggled with; he liked a particular ring design, he wanted certain stones to be set, and he really wanted to purchase everything on his own to match his specific criteria. He just needed someone to put the pieces together- and he found us. Read on to learn more about how we assembled his custom ring.
The Components of the Ring
Our client had reached out to us about creating a custom ring for his mother's anniversary with the birthstones of her four children. He wanted the band of the ring, or the shank, to be a particular thickness, and he was very specific about the stones as well. After some further discussion, we decided that it would be best for him to purchase the components (also referred to as findings) he wanted and we would build the final piece together.
After a week or two, we received his materials. He supplied a thick 14k yellow gold shank, a five-stone setting, and four emerald-cut stones: an aquamarine, ruby, amethyst, and white sapphire.
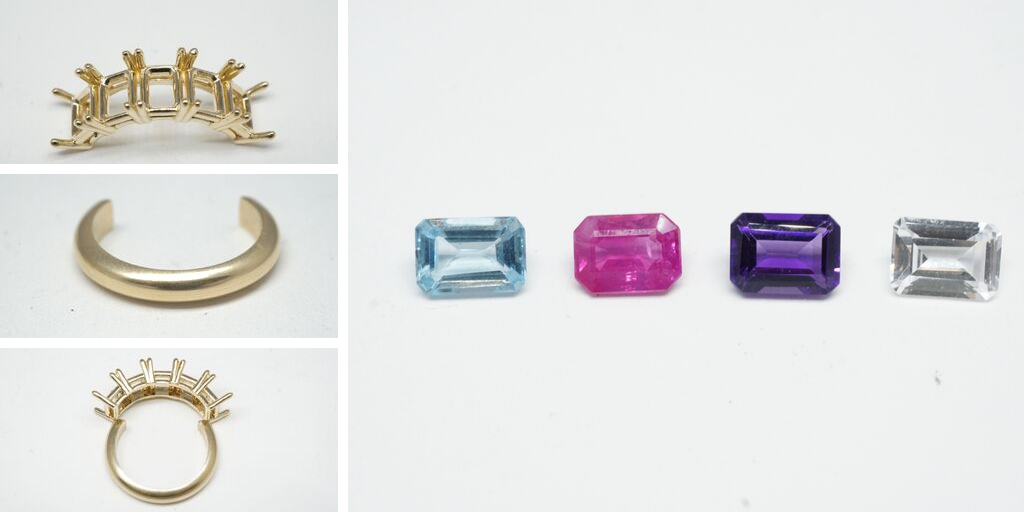
Our client provided these parts for us to assemble and build to make a unique one of a kind ring
Assembly of the Custom Ring
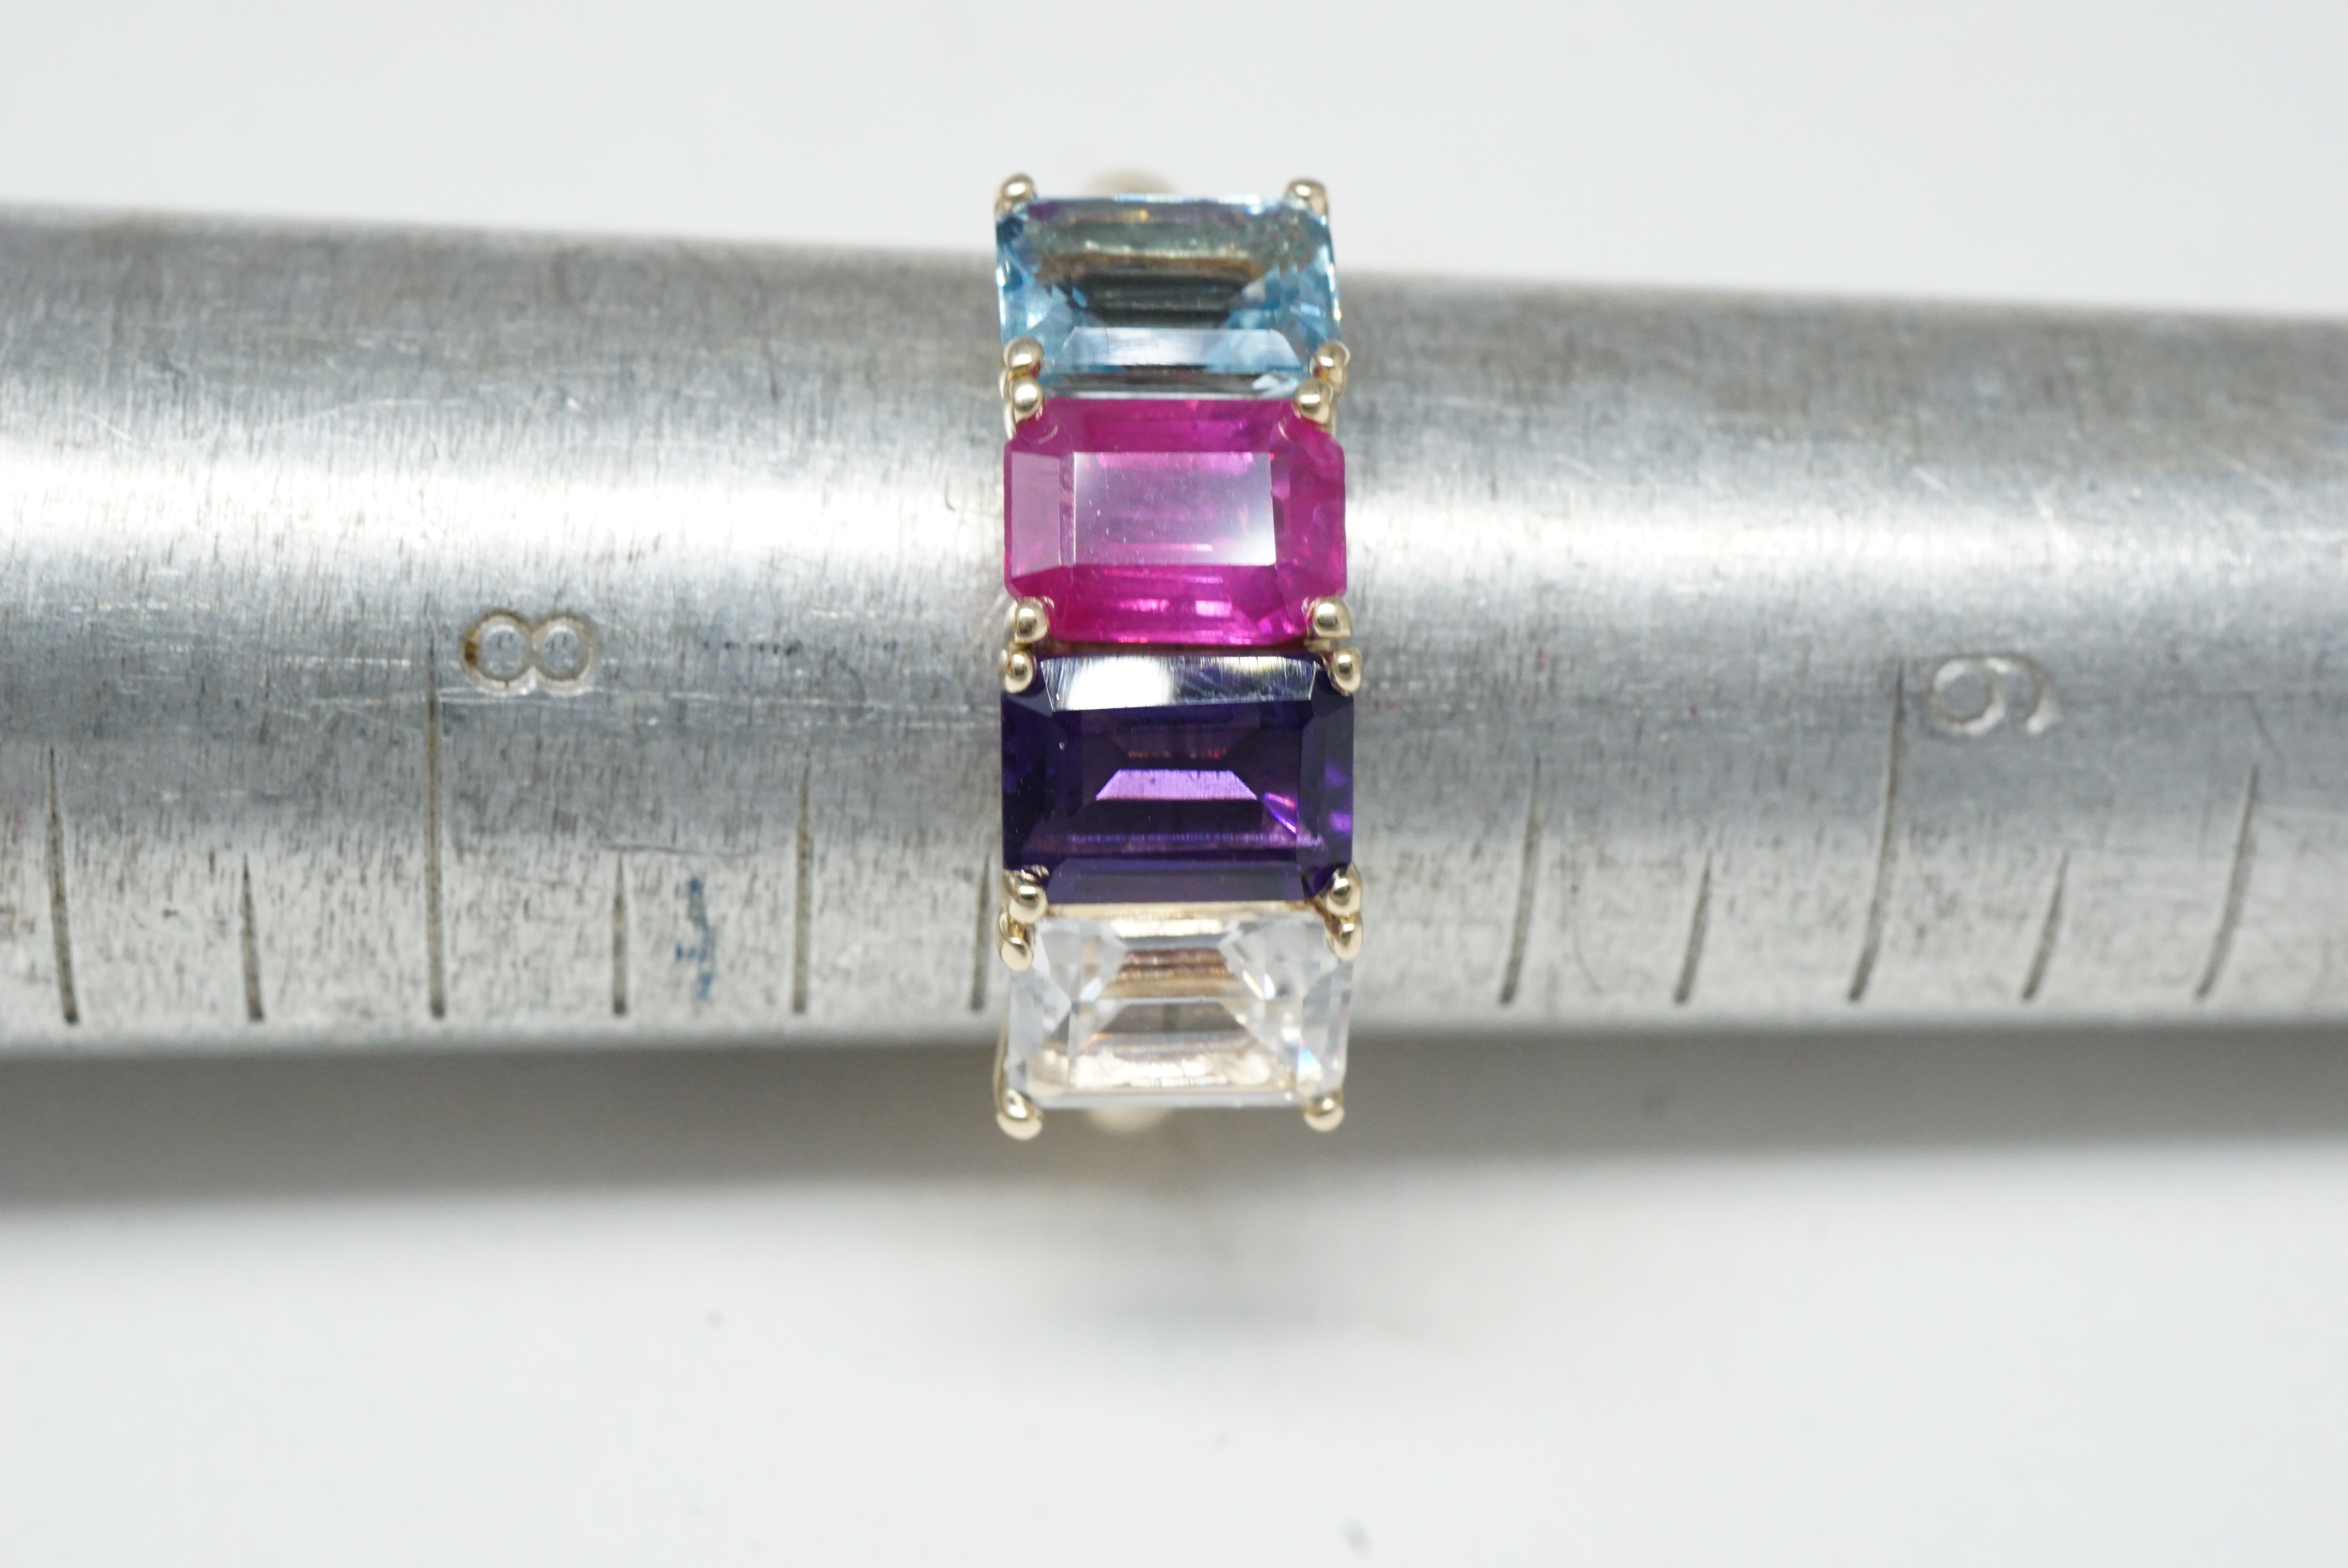
Once we received his materials, we moved straight into work. The client had specified that the setting he was able to purchase was a five-stone setting. As a result, we would need to cut off one of the settings in order to make it a four-stone setting. He also wanted the stones to be set in a particular order: blue, red, purple, and white. The ring had to be a size 7.
First, our jeweler used a saw to cut off the excess material on the setting. Then he soldered the shank provided to the bottom sides of the setting, ensuring that it was secure enough for daily wear and tear. He then checked the size of the assembled ring, and cut into it to size up by adding additional metal.
After the ring was assembled, the new mounting was passed to the setter for stone setting. He carefully set the stones in the correct order and closed the prongs securely around each gem. One of the stones provided by the client was a little smaller, and as a result the setter compensated it for it by setting those particular prongs closer.
The ring was then moved to polishing and cleaning to remove any tool marks and residue from assembly work. It was brought to a high polish, and carefully cleaned with both an ultrasonic and steam cleaner to knock out dirt from behind the setting.
The Final Product
When the piece was ready to ship out, we emailed our client with pictures of the newly assembled ring. He was elated with the results, and threw in a last-minute request for a quick laser engraving.
Making sure that the inscription he provided was accurate, we turned the piece over to our engraver and he wrote “Blessed – Beloved” on the interior in fine script, slightly over to the left side of the ring's interior to avoid engraving over the 14k stamp. We also checked to make sure that the engraving followed the orientation of the stone order when viewed from the outside.
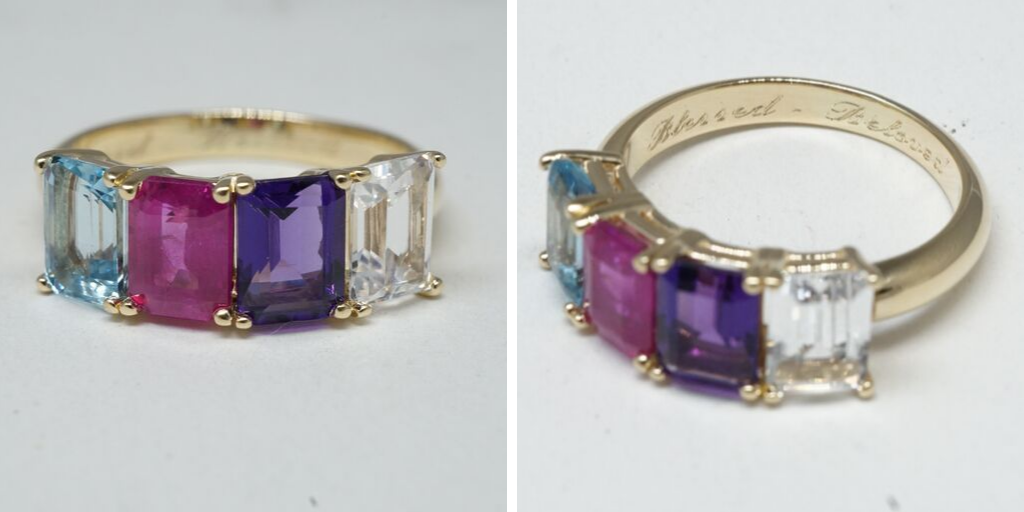
And there it was; the finished product! We shipped it off to our happy client, who now had a custom ring that was put together with minimal fuss.
Interested in getting something custom created? Comment below and we'll help you out!