How to Fix a Broken Pearl Necklace in 5 Easy Steps
Written by Anna Currell
January 17, 2023

Not only is breaking a pearl necklace dramatic (those pearls can go flying everywhere), but it’s also really frustrating; you can’t wear a necklace when it’s disassembled. If you’re surrounded by unstrung pearls from your broken necklace, don’t get overwhelmed. There’s a simple solution and you can make progress on your own right away. Here are the five most important steps to fixing a broken pearl necklace:
Step 1: Collect All Your Pearls
Do what you can to collect any loose pearls. We’re crossing our fingers that your necklace broke at home instead of out in the world; losing a pearl is so disappointing. Pearls are generally small, delicate, and fairly expensive, so do your best to gather up all the loose pieces and store them somewhere safe, like a velvet jewelry bag or a lined jewelry box. This will prevent any scratching and help keep all the parts of your necklace together as you proceed.
Step 2: Do a Quick Inspection of Your Broken Pearl Necklace
Next, you’ll want to inspect your broken pearl necklace. Take a closer look at where the damage happened; was it a faulty clasp, or did the string break? Often, the string of a pearl necklace can end up snapping as it loses its strength and begins to fray over time. Knowing where the break occurred can help you to understand what needs to be repaired when you approach a jeweler.
Then note how your pearl necklace was constructed. If your necklace has multiple strands and one snapped, there’s a good chance the other strings are strained as well. In this case, you’ll want to get each strand restrung.
Then take a look at the string itself — is it knotted? This is a common style for beaded jewelry, especially pearls; essentially the strand is tied into a knot between each bead. These knots prevent you from losing every pearl on the string if the string breaks, and create an overall different appearance in your necklace style; the knots separate the pearls to highlight each pearl and stretch out the set across a longer strand. If your strand is knotted, you might have only lost one pearl (hooray!), but you’ll still need to get your pearls restrung to prevent future breakage.
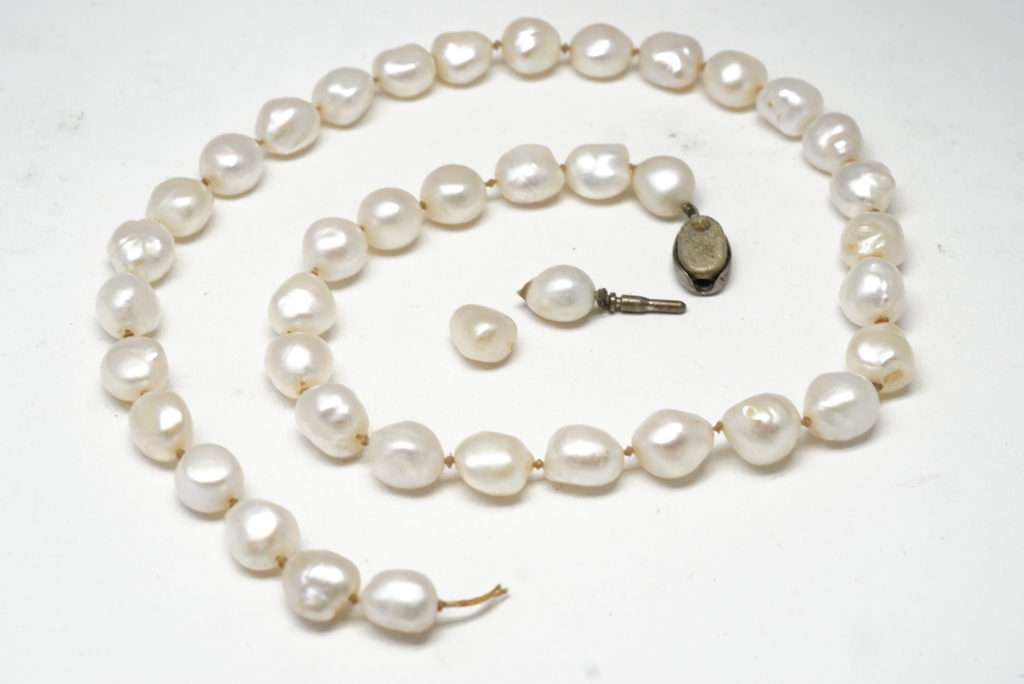
A pearl necklace with knots between each pearl. Even though it's broken, you can see that the pearls didn't fall out.
Step 3: Consider Your Options
Going into your broken pearl necklace repair with as much information as you can will always help. After a quick inspection, determine what you’ll need from a jeweler beyond a new string. Here are some other important elements to consider:
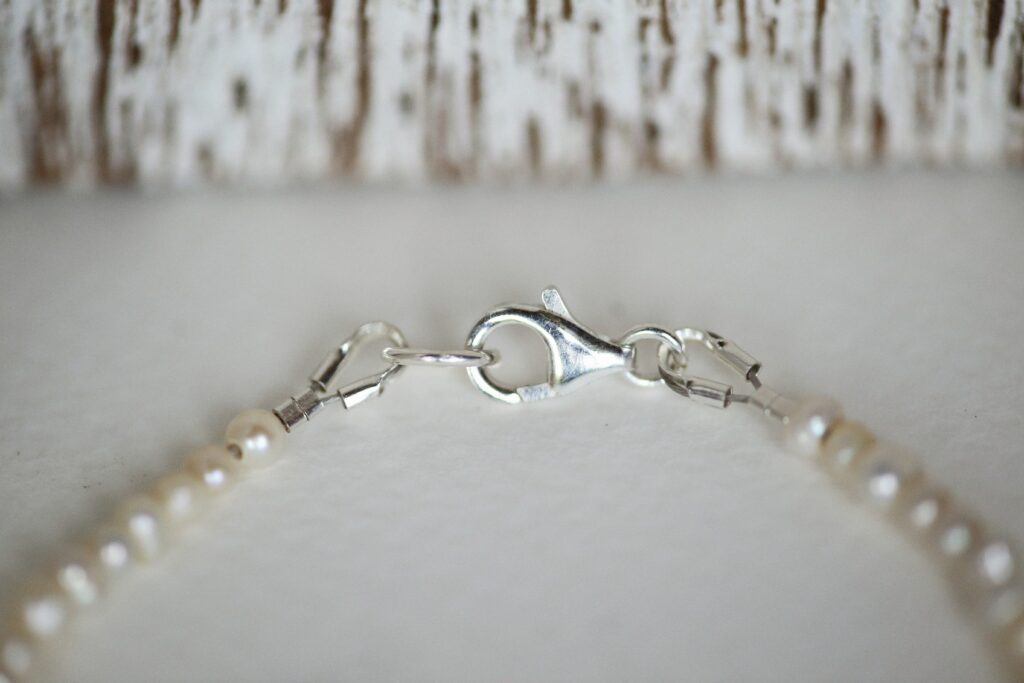
Clasps and Length
If the clasp broke, you’ll likely want a replacement clasp in addition to restringing. You’ll also want to measure your necklace with a ruler or a tape measure, as the price of your pearl restringing will likely be influenced by the length of your necklace. Some jewelers will offer sourcing for new pearls if you’d like to replace some that you lost, as well.
Knots and Style
Even though a broken pearl necklace is upsetting, the good news is that it gives you an opportunity to try a different style. There are a few different types of ways to string a pearl necklace, and each style will change the overall look of your necklace. You can choose to have the pearls strung without knots, strung with knots, or strung with a graduated style.
- Without knots: Each pearl or bead lies side by side on the string with no interruptions.
- Knotted: Knotted necklaces separate each pearl with a knot on the string itself.
- Graduated: Graduated necklaces organize pearls according to their size; typically the smallest ones will sit by the clasp (behind the neck) and they’ll get larger as they approach the center of the string.
Note that if your pearl necklace wasn’t originally knotted but you opt for knots during your repair, your necklace will end up a little bit longer; the knots add room between each pearl. On the other hand, if your necklace was knotted prior to breaking and you’d like it knotted again, your necklace may be a bit shorter after the repair. This is because knots tend to loosen over time, so your repaired necklace is likely to start shorter and then stretch out again to a more familiar length.
Step 4: Snap a Photo
It’s always helpful to take a photo of your broken jewelry piece before getting it repaired. This can help your jeweler understand what work needs to be done, provide you with a more accurate pricing estimate, and allow you to compare the piece with before and after shots.
If you happen to have a photo of your pearl necklace before it was broken, that might also help your jeweler restore it to its original form. The more information your jeweler has, the better. If you don’t have your own photo of your necklace in its original condition, you might be able to find an image online from the brand that made it.
Step 5: Take Your Pearls to a Trusted Jeweler
While you could always take it upon yourself to learn how to restring your pearls, it’s probably not the best idea (or use of your time). Pearls and their strings can both be very delicate, and they could end up breaking again. Your best bet is to get your precious pearls repaired by the pros. Professional jewelers not only have the expertise and skills to carefully restore your necklace, but they also have the right equipment to do the job well. Plus, it’s easy to find an expert jeweler you can rely on.
Our trusted jewelers at Quick Jewelry Repairs have decades of experience handling and restringing pearls. To ensure that your broken pearl necklace is restored perfectly and with the integrity to last, send it in to our team. We’ll give your piece a new string, perform any other maintenance it needs, and mail it back to you as good as new. You’ll be wearing your perfect pearls in no time — just be sure to store your pearls safely and check your necklace before it breaks next time!