5 DIY Jewelry Repairs You Can Do At Home
Written by Annabelle
April 10, 2020

During this time, it can be difficult to find a jeweler who’s open to service your broken jewelry. Fortunately, there are a few things you can do at home to mend your items to the best of your ability (at least until the jewelers open up again.) We have five DIY jewelry repairs that you can do at home.
5 DIY Jewelry Repairs
1. Resetting a Stone With Glue
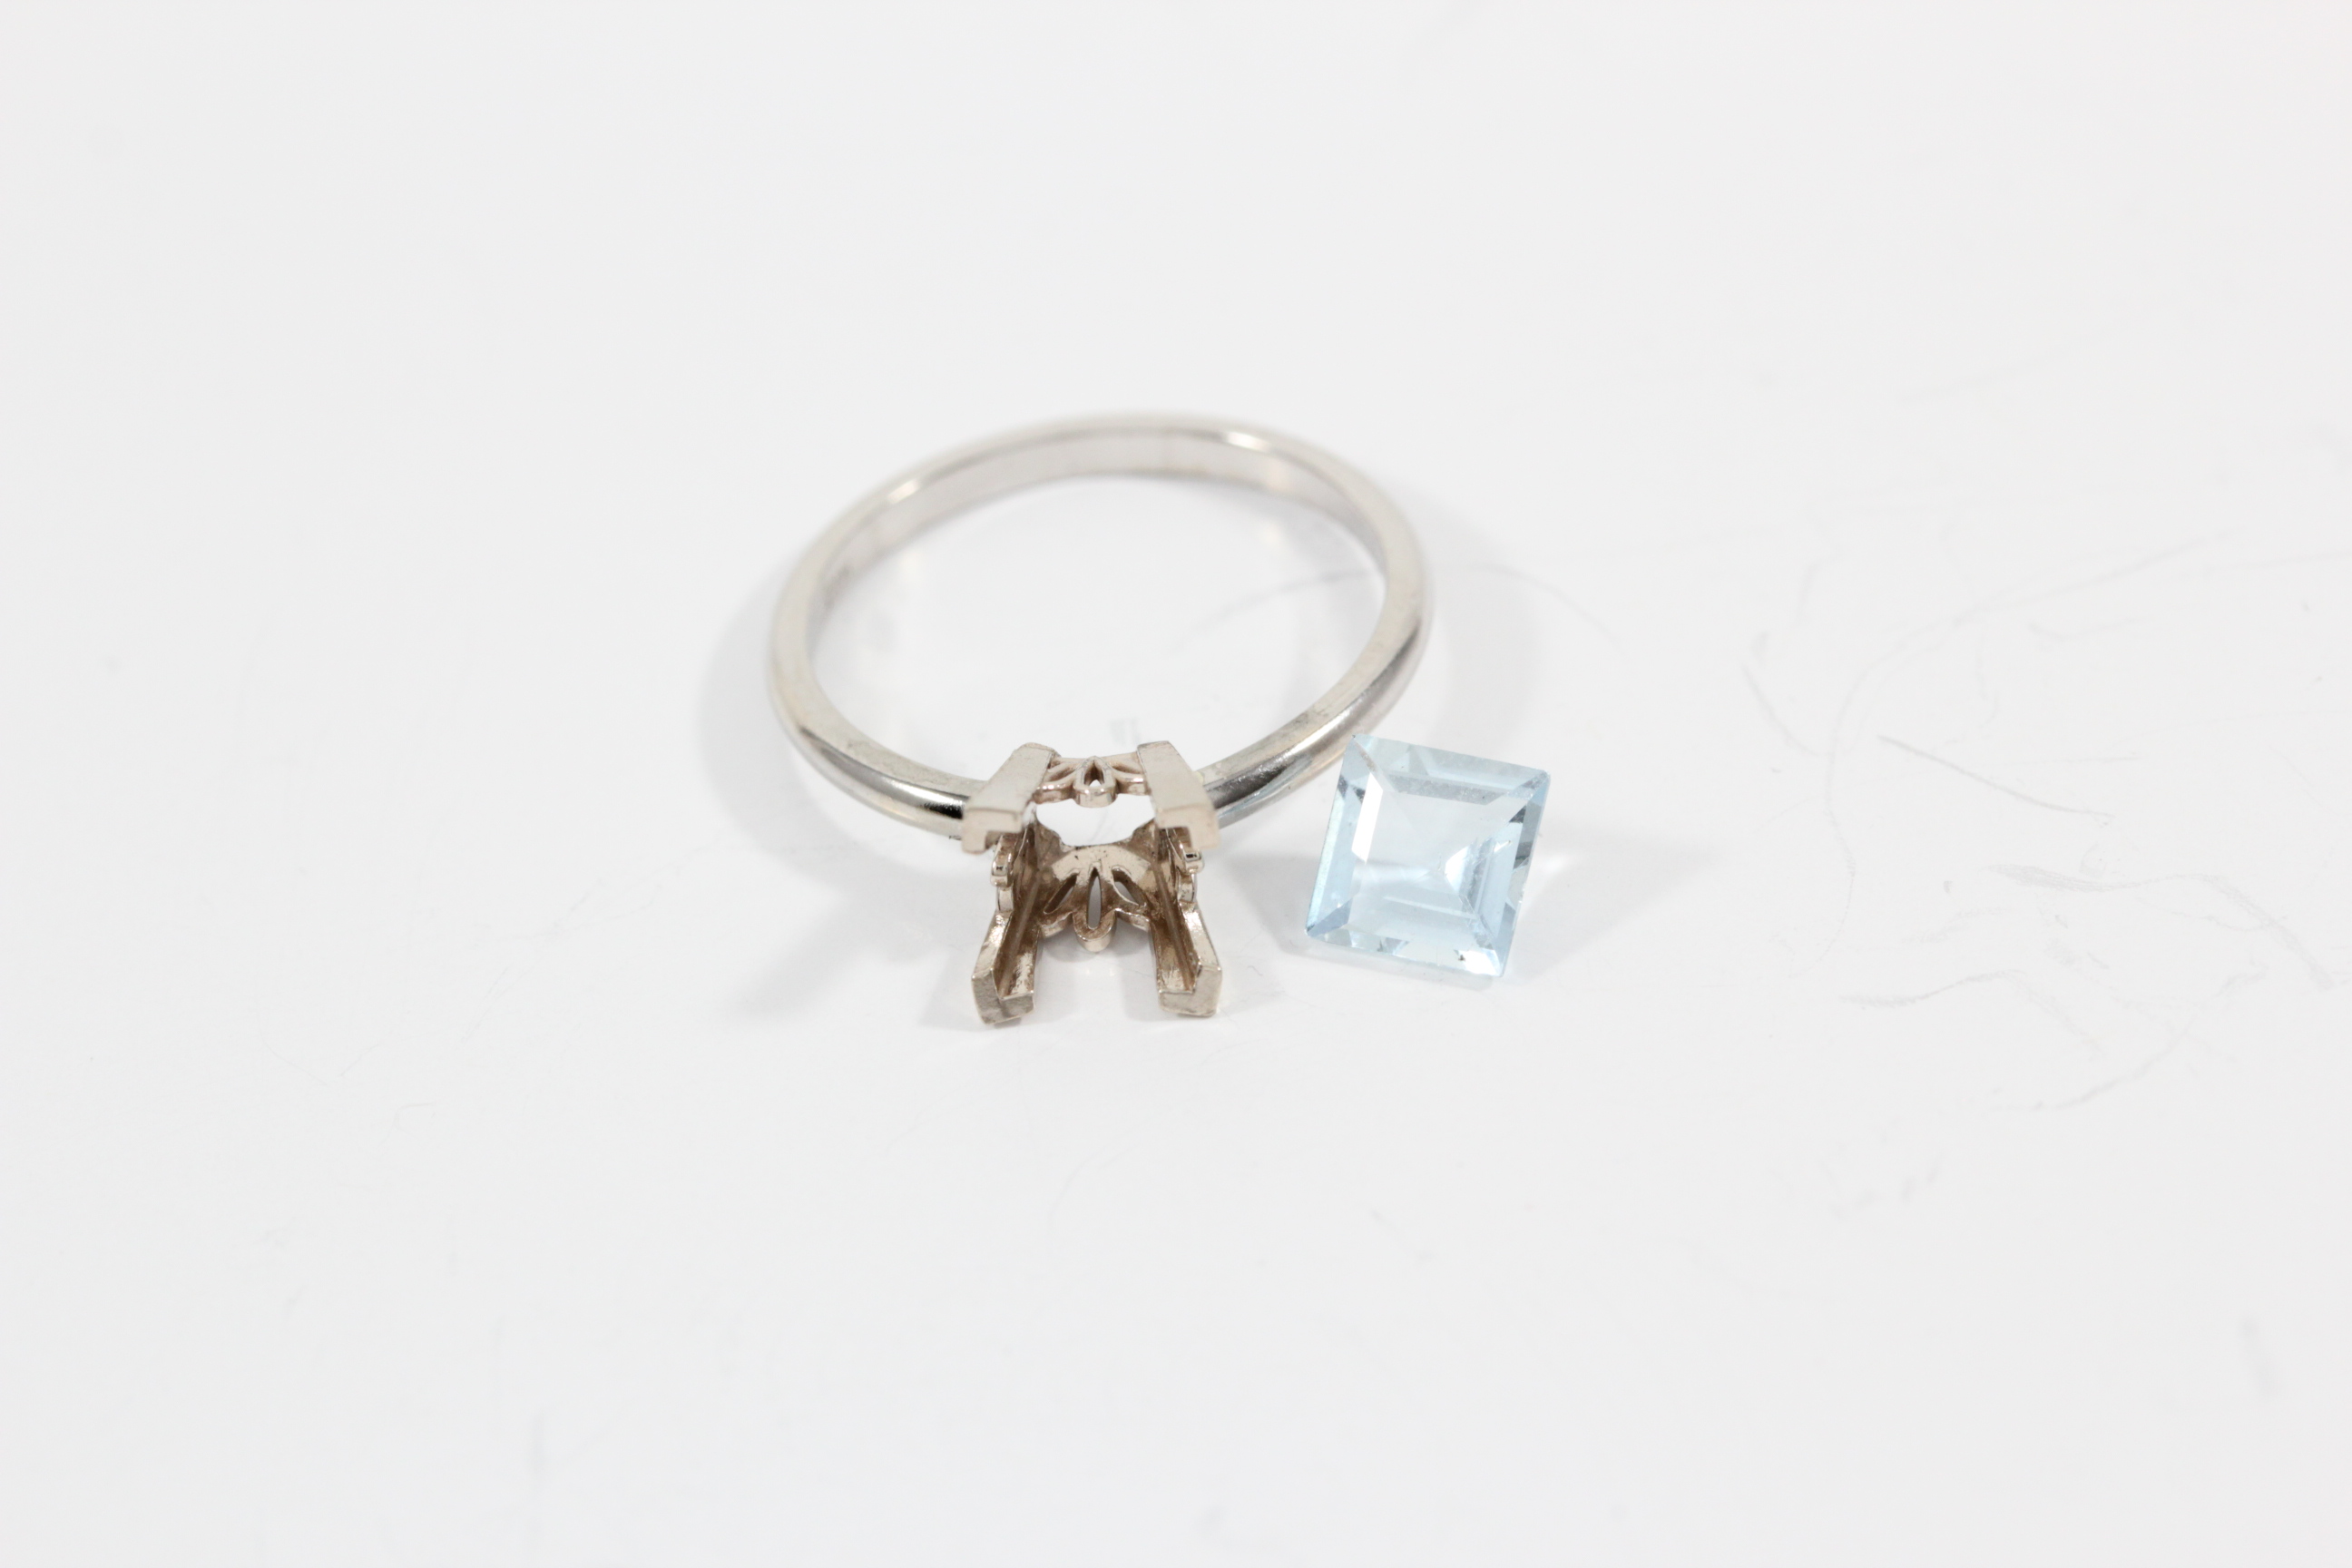
An aquamarine stone and its setting.
It’s not exactly the most elegant solution, but when a stone falls out of your jewelry sometimes the best way to keep it there is by using crazy glue. Before you start adding the glue, make sure that the stone can fit back into the setting. Next, apply the glue to the metal, not on the back of the stone. Ease the stone into place and ensure that it’s as flat as you can possibly set it before letting the glue dry. If the setting is a prong setting, you can also use a pair of pliers to gently bend any loose prongs over the stone, in the event that the glue fails to hold the stone securely.
2. Restring Necklaces and Bracelets
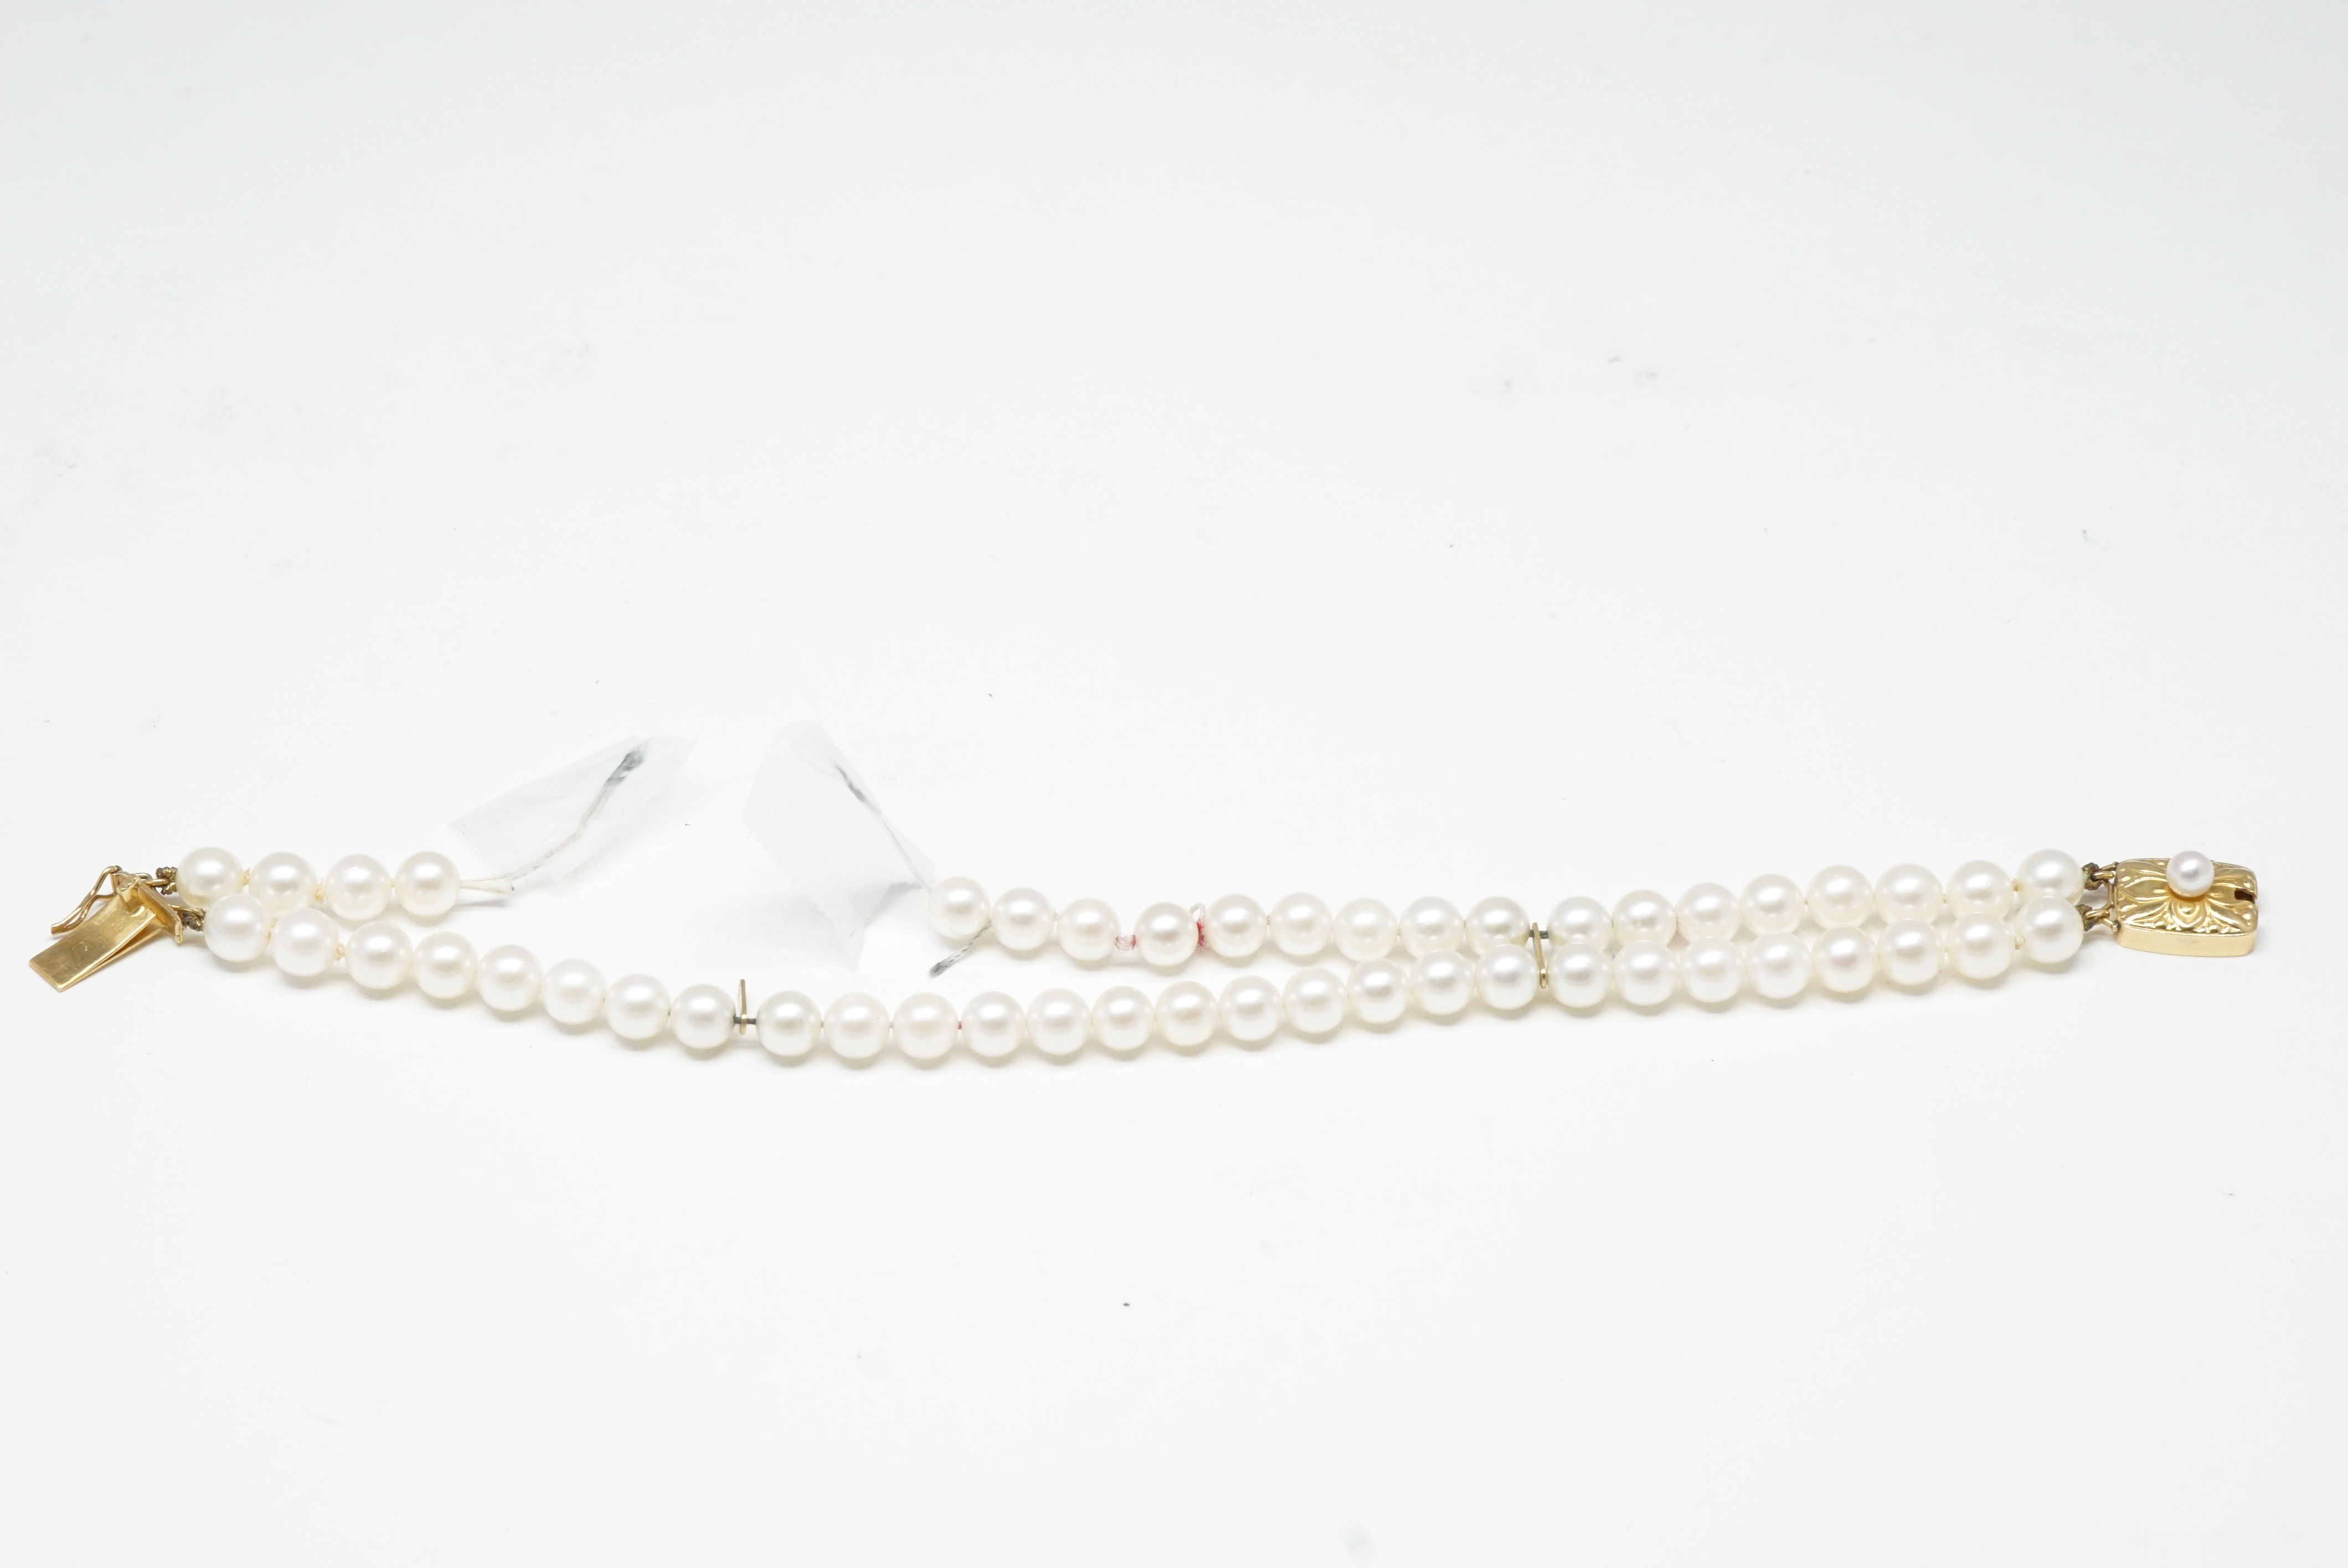
This two-strand Mikimoto bracelet is broken.
Broken pearl or bead necklaces and bracelets are tricky to work with, and it’s very easy to lose a few pieces here and there. To ensure that you can wear it or keep all the components safe until you can visit a jeweler, try stringing it back up. The best string for necklaces is silk, as it doesn’t abrade against the inside of your pearls, but you can use anything that you have around to keep all the beads together. Tie a knot at one end and thread the beads on- for extra security, put a knot in between each bead if possible. Once you’ve strung all of them onto the thread, you can try attaching any existing clasps or just leave it as one cohesive strand to hold onto until you can get it professionally restrung.
3. Untangling Knots and Chains
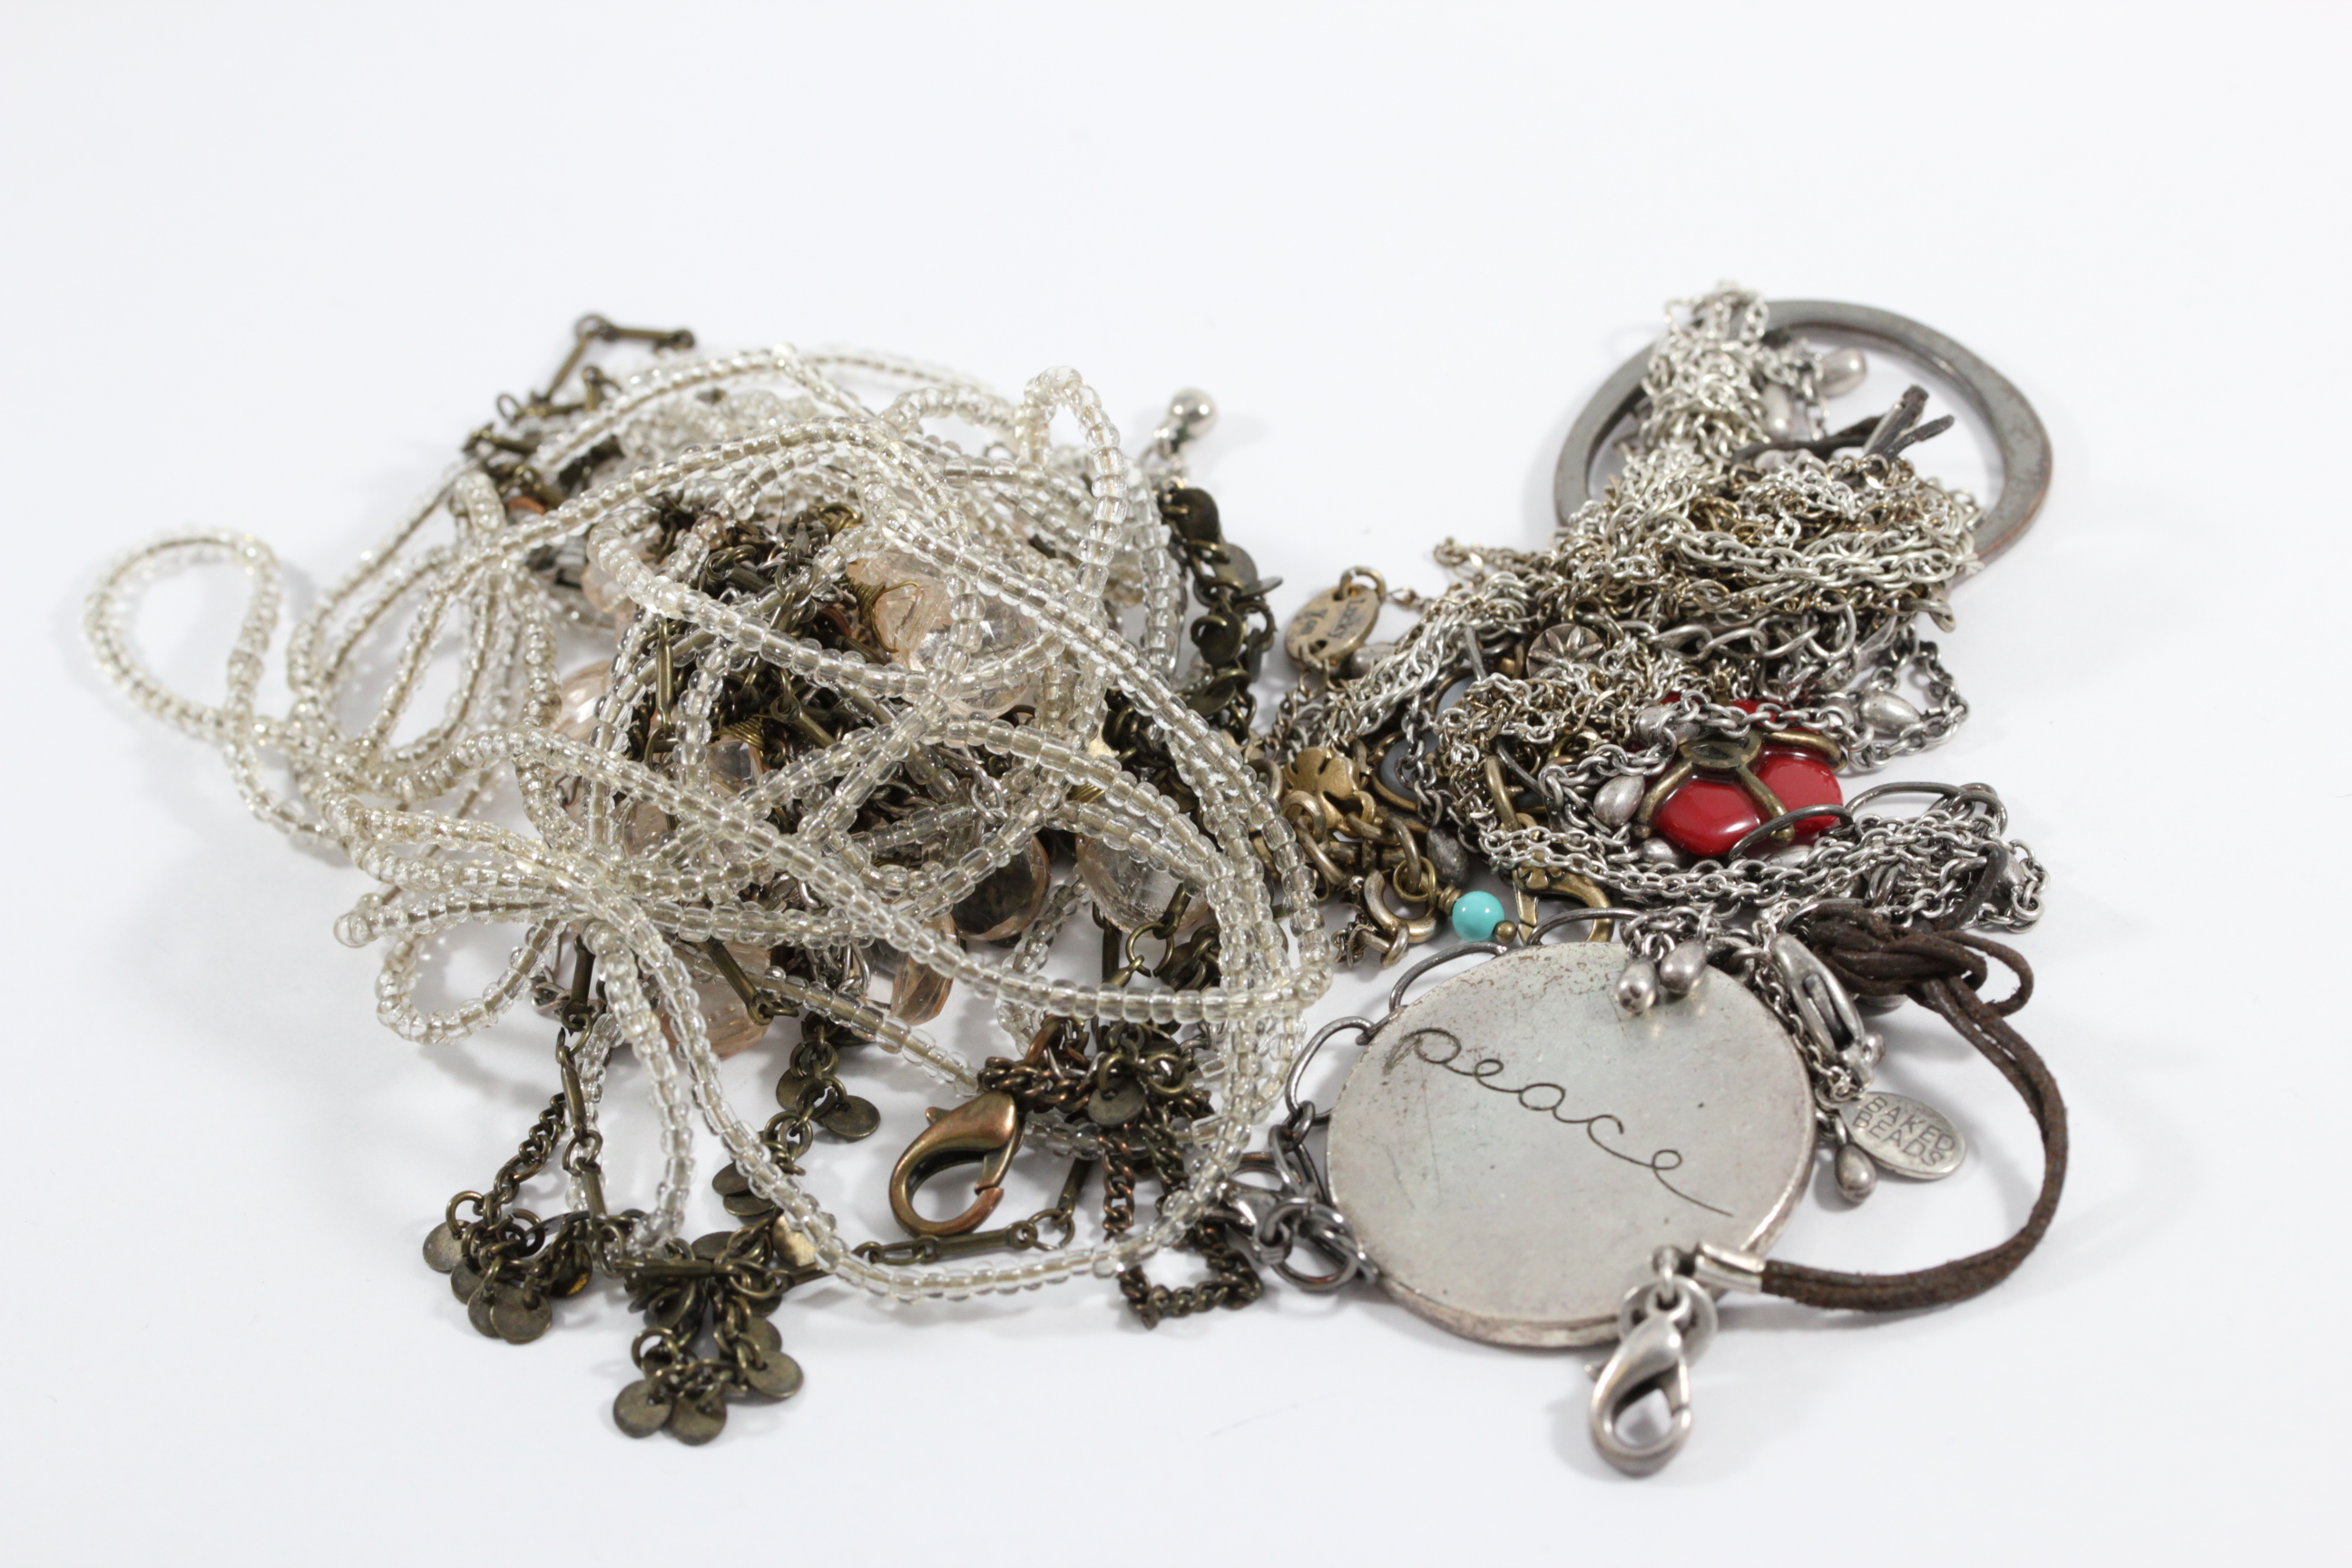
If your jewelry box is a knotted mess, try to unravel the pieces! Lay the tangled bunch on a flat surface and undo all the clasps that you can see. Next, start with one identifiable piece and work on removing that item first. Take each piece out one by one instead of trying to undo large clustered knots and you’ll be able to remove each strand.
If the items have knots and you’re worried about breaking them, a needle may help to loosen up and untangle some of the finer chains.
4. Cleaning Jewelry

A dramatic before and after of a ring with a lot of dirt behind its stones.
Dirty jewelry can be unsightly, but you can give it a quick rinse at home before you haul it off to the jeweler’s for a professional cleaning. Before you proceed, note that most cleaning methods online involving harsh chemicals, bleach, or vinegar should be ignored! The best and safest way to clean your jewelry is to take a toothbrush, and give your jewelry a quick scrub with a little soapy water. Anything else and you risk damaging your stones (we’ve seen it happen with turquoise, pearls, coral…) Make sure to give a good scrub with the bristles behind your stone settings, as dirt accumulates there quite often. Once you’re done, run it through water again and you should have a relatively cleaner piece of jewelry.
5. Fixing a Broken Chain
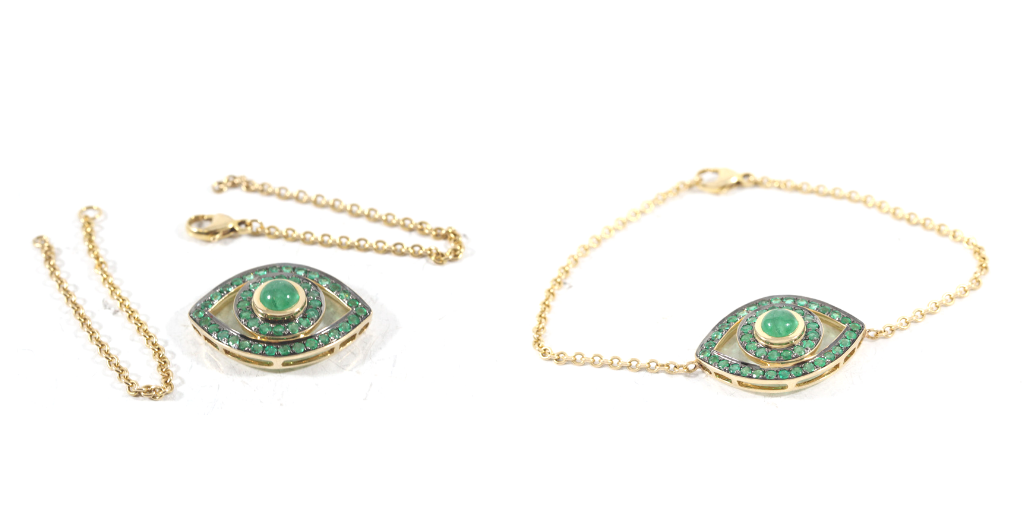
An emerald evil eye bracelet that needed a quick chain repair.
Not all chains can be fixed using this method, but take a close look at your piece. If you see little lines in each link, those can be forced open with a pair of scissors. Open up one link and carefully thread it through the other piece of the chain, and then close it back up with a pair of pliers. It should be noted that this isn’t a permanent repair and it will open up if you tug on it too forcefully, but at least it’s back to its original look!
Now you’re up to date on 5 quick DIY jewelry repairs you can do at home! For more complicated repairs, feel free to reach out to us in the comments section and we’ll be happy to assist you.
